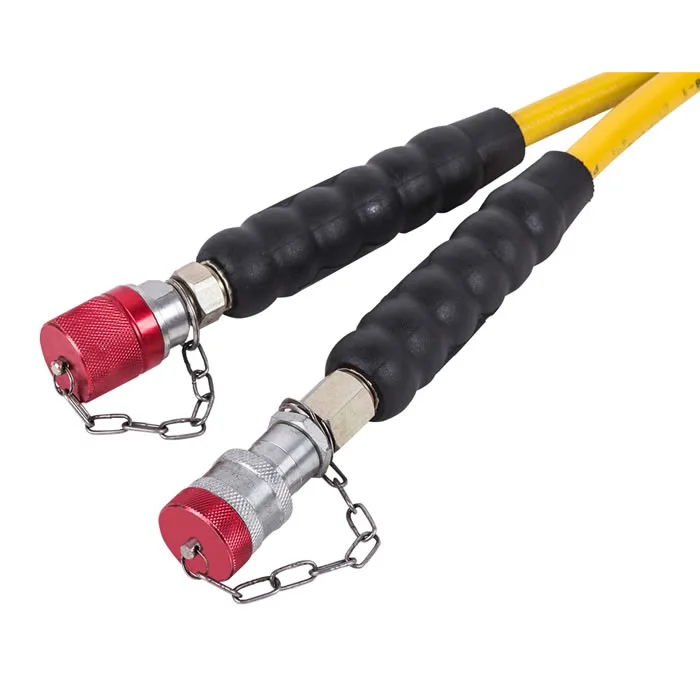
Identifying and Replacing Hydraulic Hose Ferrules
Identifying a Damaged Ferrule
Visual Indicators:
Hydraulic fluid leaks: Oil seeping from the hose fitting or ferrule.
Decreased system Performance: Low hydraulic pressure, slow response times, or unusual noises.
Deformed or cracked ferrule: Visible damage to the ferrule's surface.
Safety Precautions When Inspecting Ferrules:
Isolate the Hydraulic System: Turn off the power or hydraulic pump before inspection.
Release system pressure: Ensure all pressure is relieved from the system.
Wear protective gear: Use safety glasses, gloves, and appropriate clothing.
Beware of hot surfaces: The hydraulic fluid and components may be hot, especially after prolonged operation.
Tools and Materials Needed for Ferrule Replacement
Essential Tools:
Ferrule crimping tool: Used for cutting and crimping ferrules.
Wrenches: For tightening and loosening fittings.
Cleaning rags: For wiping down the hose and work area.
Measuring tape: To measure the hose length.
Required Materials:
Replacement ferrule: Ensure it matches the original in size, material, and Pressure Rating.
Hydraulic fluid: For lubricating the new ferrule and fitting.
Thread sealant tape (optional): For added sealing.
Understanding Ferrule Compatibility
Material compatibility: Ensure the new ferrule's material is compatible with the hose and hydraulic fluid.
Size compatibility: The inner and outer diameters, as well as the length, must match the original.
Pressure rating: The new ferrule's pressure rating should meet or exceed the system's requirements.
Step-by-Step Guide to Replacing a Damaged Ferrule
Prepare for replacement: Isolate the system, relieve pressure, and clean the work area.
Cut the damaged ferrule: Use the crimping tool to cut off the damaged ferrule.
Prepare the hose end: Clean and deburr the hose end to ensure a proper seal.
Install the new ferrule: Slide the new ferrule onto the hose and crimp it securely using the crimping tool.
Test the connection: Reconnect the hydraulic system, start the pump, and inspect all connections for leaks.
Common Issues and Solutions During Replacement
Ferrule not crimped properly: Ensure the crimping tool is adjusted correctly and the ferrule is fully seated.
Hose damage during removal: Use the correct tool and apply even pressure to avoid damaging the hose.
Leakage after replacement: Check the crimp for tightness, ensure the ferrule is fully seated, and inspect the hose for any damage.
Conclusion
Replacing a damaged hydraulic hose ferrule is a critical maintenance task that helps prevent hydraulic fluid leaks and system failures. By following these guidelines and using the appropriate tools and materials, you can safely and effectively replace a damaged ferrule and ensure the continued operation of your hydraulic system.
Why Choose SAIVS™ as Your Supplier?
With 20 years of industry experience, SAIVS is a leading Chinese manufacturer of high-quality tools, offering competitive pricing and excellent customer service.We pride ourselves on exceptional quality control, extensive experience, and comprehensive after-sales service.
